
The classics of hand embroidery satin stitch Stitch Floral
Satin stitch is most often used to fill smaller shapes that are part of a bigger pattern and the small imperfections are barely noticeable when all is said and done. Satin Stitch Outline A quick trick for creating smooth edges is to outline the shape with back or split stitch and then work the satin stitch over the top of the outline.

satin stitch family » Sarah's Hand Embroidery Tutorials
Satin stitch is best worked on small designs or in small sections. If the stitches are too long they can catch and become uneven. Generally, the length of the satin stitch should be under ½ inch(12mm). Using a padded satin stitch can help support stitch length sizes of slightly larger.
feeling stitchy MooshieStitch Monday Padded Satin Stitch Flower
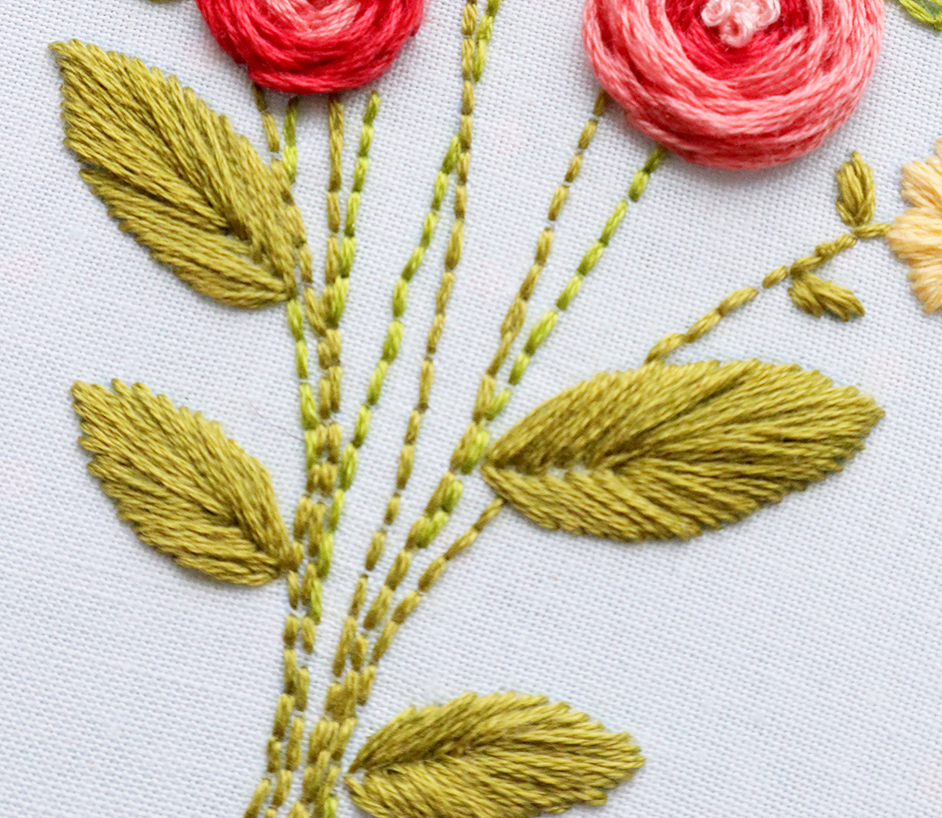
Satin stitch is perfect to fill various shapes. I regularly use it to fill flower petals and leaves in my designs. Straight parallel stitches are worked close together which creates a smooth finish and a lovely delicate lustre from DMC embroidery threads. Materials: · Fabric - cotton or linen fabric works well. I used osnaburg fabric which is 100% seeded cotton, but you can use any spare.

Satin Stitch Embroidery YouTube
This stitch is perfect for creating smooth, shiny surfaces in your embroidery - and it's great for showing off. Learn how to Satin Stitch in Hand Embroidery.

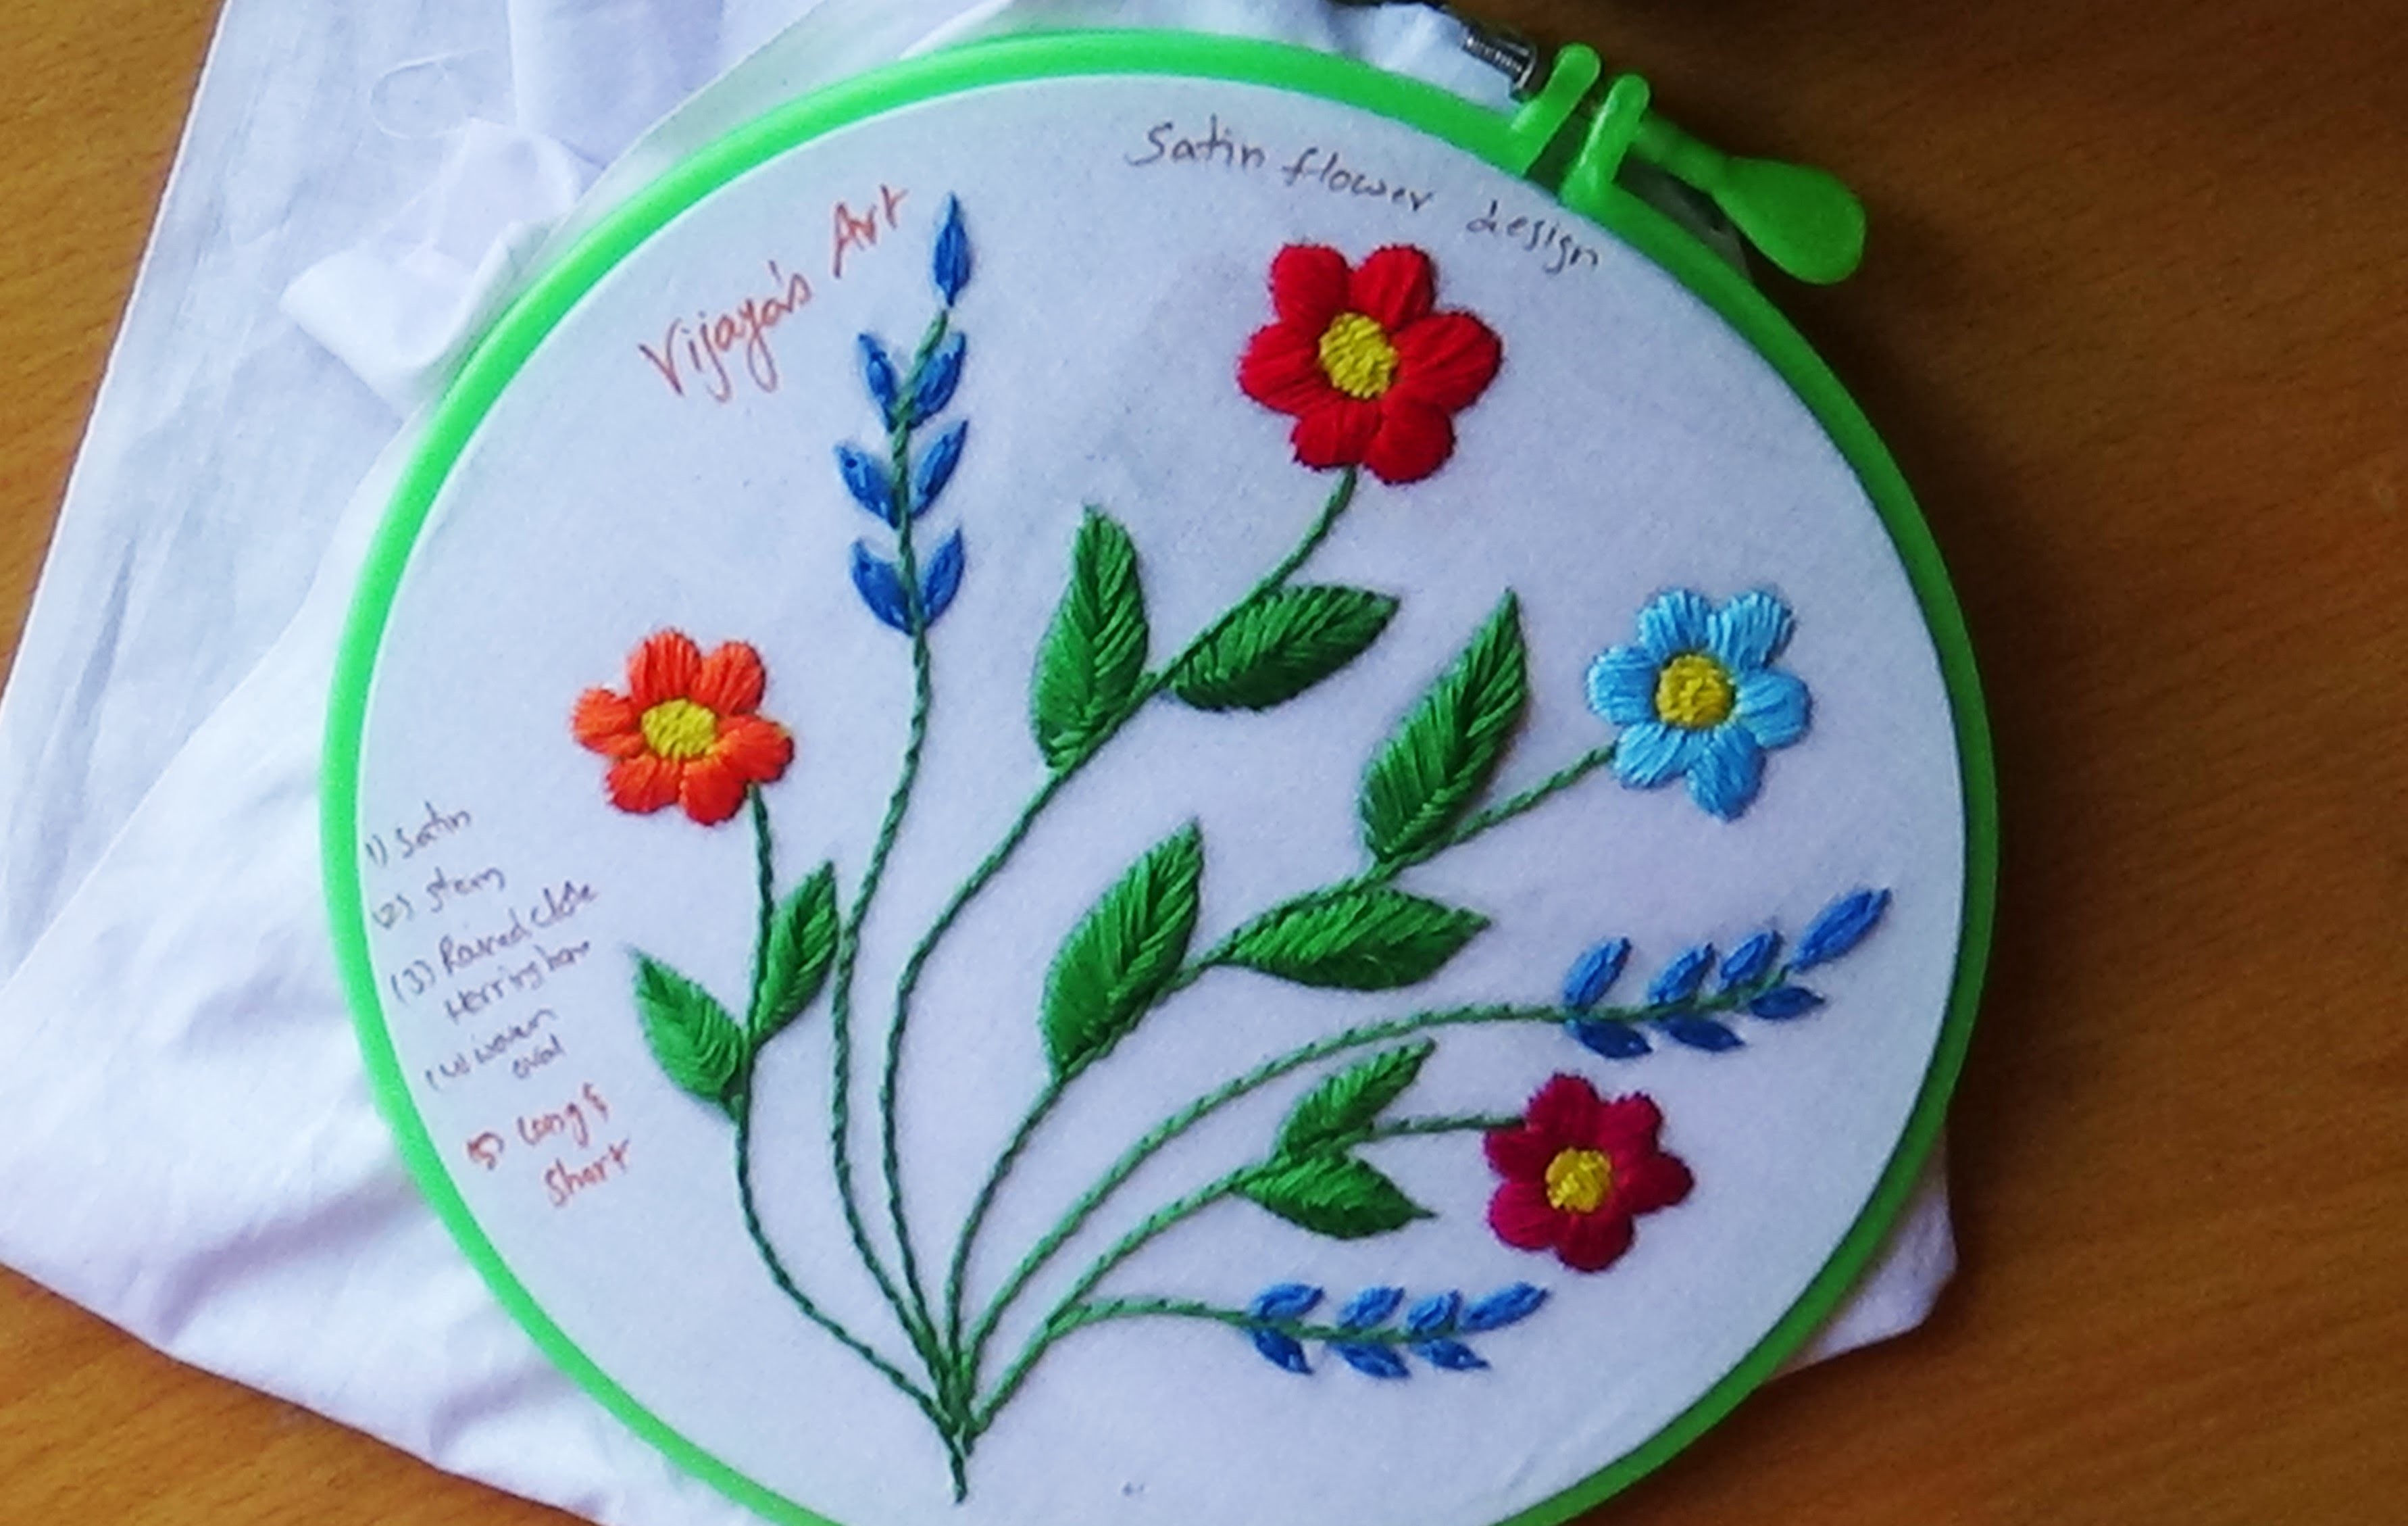
10+ Transcendent Satin Stitch Flower Hand Embroidery Ideas in 2020
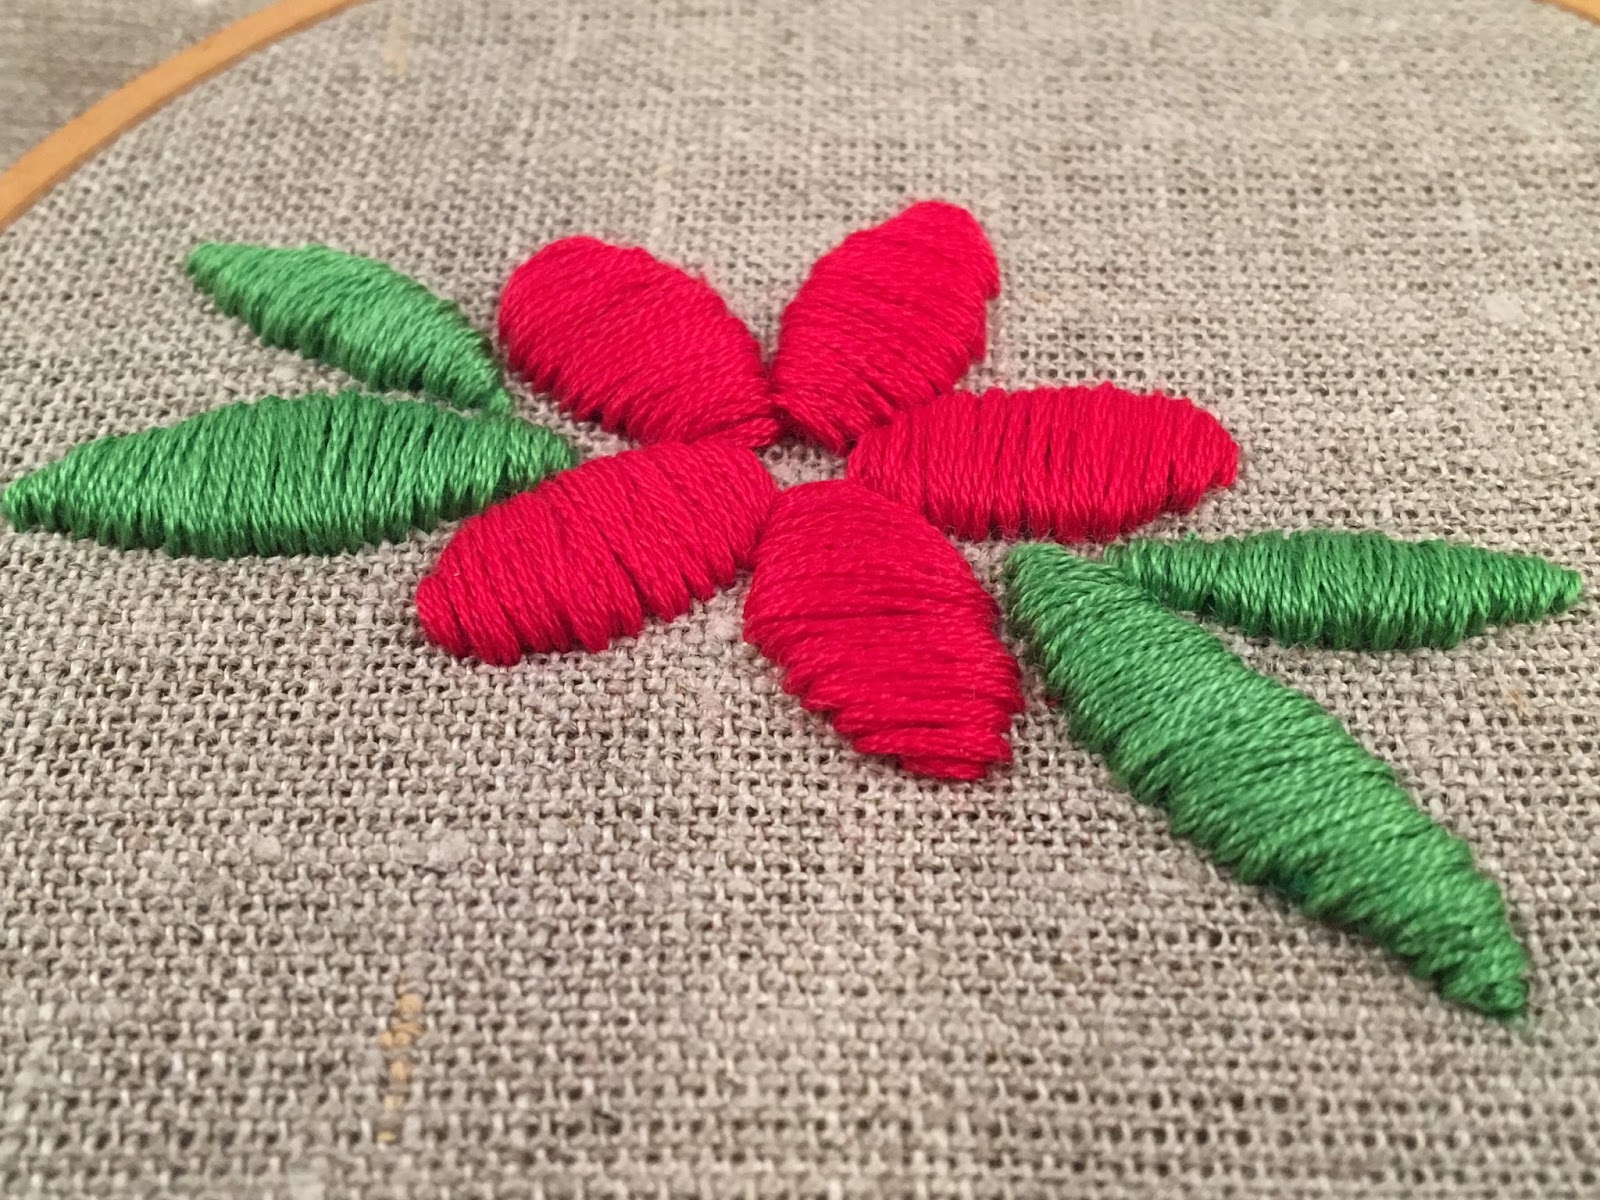
On the left, a smooth padded satin stitch worked in 1 strand and 4 strands for the padding. On the right, the flower and the leaves were stitching with satin stitch using 4 strands of thread. Satin Stitch for Irregular Shapes. Contrary to its appearance, satin stitch can be a versatile stitch and you can use it for all sorts of shapes and sizes.

10+ Transcendent Satin Stitch Flower Hand Embroidery Ideas Hand
The satin stitch is often stitched over an outline stitch, such as the backstitch, or some other line stitch. This helps to keep the edges of the satin stitch within the parameters of the design. However, the satin stitch can also be done without an outline stitch.

Stitching a motif with satin stitch Epida Studio Satin stitch, Hand
How to fill large designs with Satin stitch. You can only do a satin stitch on designs 1/2 inch wide. If you want to, you will have to make rows of satin stitches 1/2 inch wide and blend them with in-between stitches. Using a satin stitch, you can fill any large design easily enough. Make rows of satin stitches inside the design.
Embroidery Basics Satin Stitch Flamingo Toes Embroidery Tutorial
But when satin stitch looks bumpy and clumpy and wobbly..wellllll. It just doesn't sing the same way. If you've experienced difficulties with satin stitch, these ten tips will help you produce a sensational satin stitch! Satin Stitch Tip #1: The Thread Makes a Difference. Some threads work better than others for achieving a smooth satin.

Royce's Hub Basic Embroidery Stitches Satin Stitch
This makes your satin stitch look about the same on both sides, but it uses much more thread. If you like, you can stitch your heart to minimize thread use by completing your first stitch by stitching bottom to top and then the second stitch from top to bottom of the pattern. Step 4. Continue stitching the first half of the heart pattern.

Basics of Free Hand Embroidery Satin Stitch
7.3 Filling the Design with Satin Stitch. Thread your needle with your chosen embroidery floss or thread color. Start from the back of the fabric and bring the needle up through the marked outline. Take tiny stitches closely following the design, ensuring each stitch lies flat and snug against the previous one.
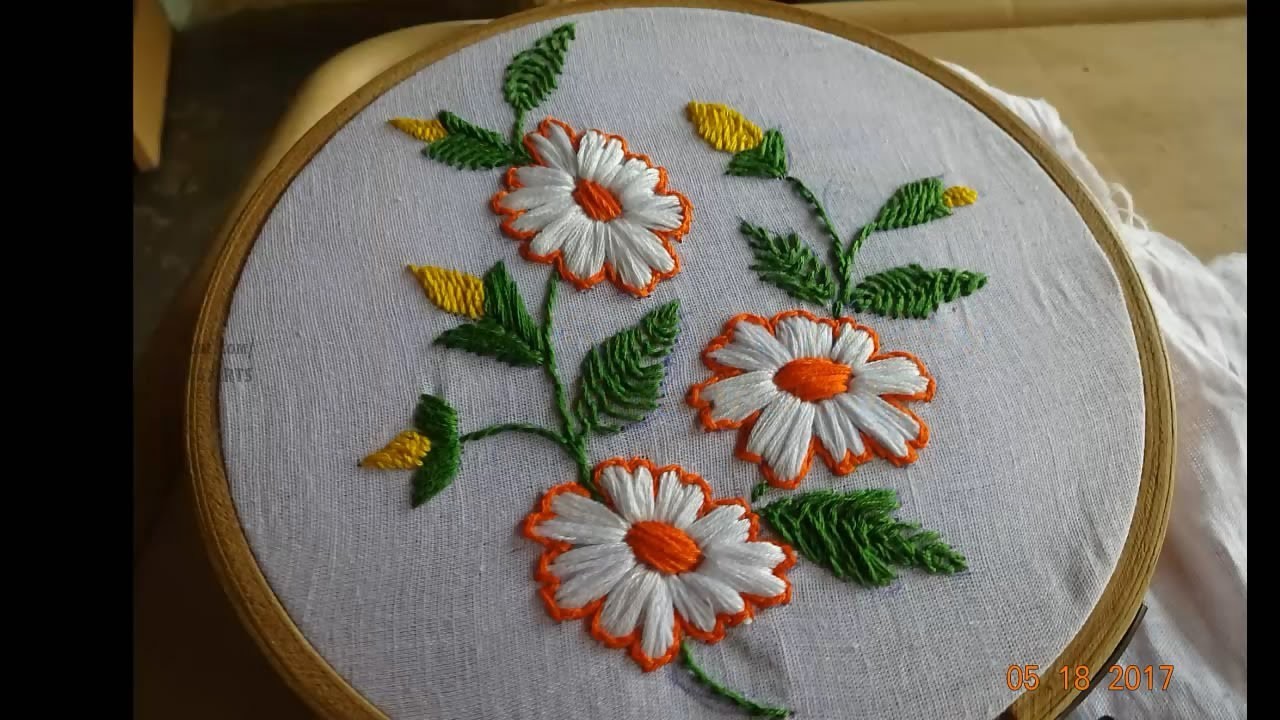
Hand Embroidery Designs 107 Satin stitch Design
Fig 1: Bring the needle out through A and put it in through B. So, that makes a stitch which covers a small area between the stitch lines. Fig 2: Now, bring the needle back through C, a point very close to A. Continue this action over the two stitch lines. Fig 3: Once finished, the area is filled as shown above. You will be spending as much thread on the reverse side as you do on the actual.

The classics of hand embroidery satin stitch Stitch Floral
3. How to satin stitch large areas. The satin stitch is an incredibly versatile stitch that can be used on all different shapes in your embroidery projects. But it's also good to be aware of its limitations. In my opinion the satin stitch looks best when it's filling shapes that are about 2 inches or less in diameter (about 5 cm or less). Why?

Satin Stitch Embroidery Tutorial, Tips, and FAQ
3. The stitch should be closely stitched together without gap. Once, half of the pattern is done, you can work in a similar fashion for the other half of the design. Tips for working the satin stitch. Generally, this stitch is used as a filling to a pattern. So you will have to make the boundary for the outer design rather than the filling.
Hand Embroidery Flower Design Satin Stitch by Amma Arts
Traditionally satin stitch fills in an area without an outline around it, the stitching forming smooth shapes and even lines. Evenweave fabric can make this tricky at times, as the spaces designed for stitches create a "stepped" effect with your satin stitch. When working this stitch to create curves, adjust the placement of the stitches incrementally, and know that some shapes require that.
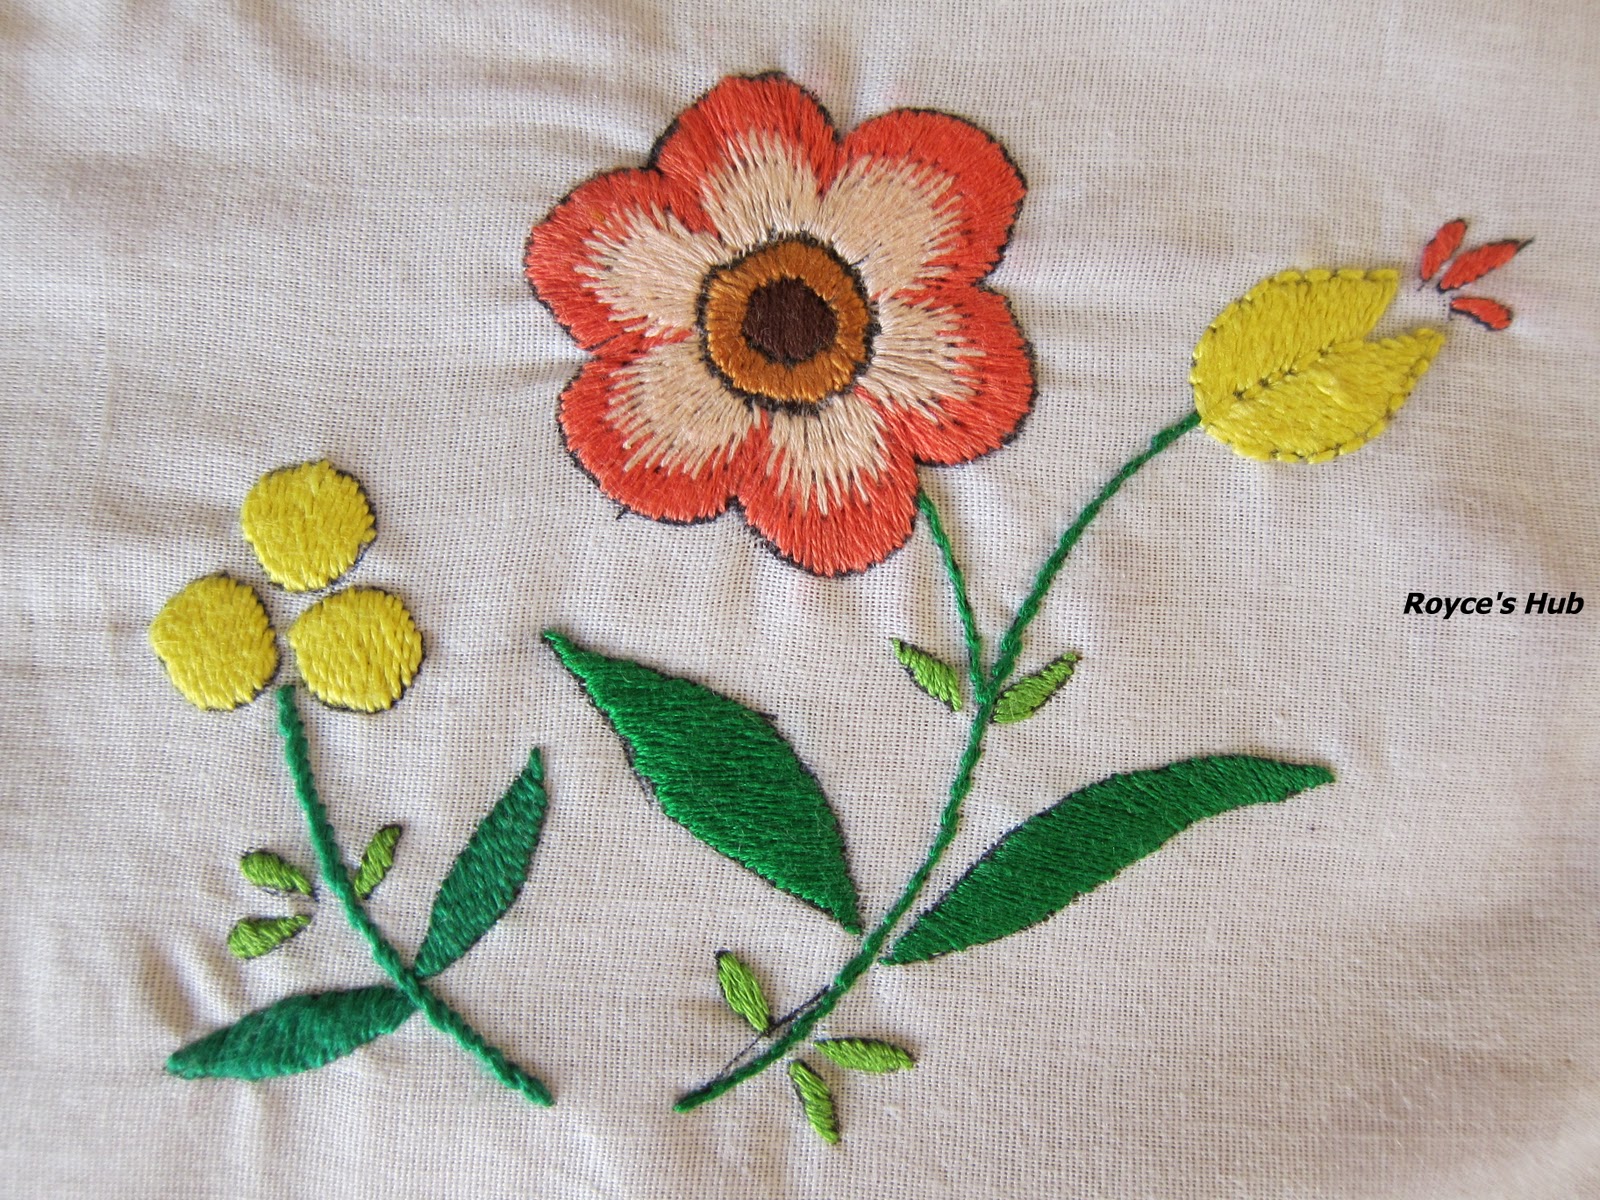
Royce's Hub Basic Embroidery Stitches Satin Stitch
Tips for working the satin stitch. Generally, this stitch is used as a filling to a pattern. So you will have to make the boundary for the outer design rather than the filling. It takes little patience to get a good finish with this stitch. But with practice, you can easily master this satin stitch.

The classics of hand embroidery satin stitch Stitch Floral
Learn how to do a satin stitch with this video guide. The satin stitch is a nice embroidery stitch for filling in small areas or letters. Get more info on.